There’s something almost magical about creating your own sourdough starter from scratch. That bubbling jar of living culture sitting on your countertop isn’t just a bread ingredient—it’s the beginning of a culinary relationship that can last for generations. With just flour, water, and a little patience, you’ll unlock flavors and textures in your baking that no commercial yeast can provide. Ready to embark on this rewarding journey? Your path to artisanal bread mastery starts right here.
The beauty of sourdough lies in its simplicity and complexity all at once. This natural leavening method has been used for thousands of years, long before commercial yeast existed. When you create your own starter, you’re capturing wild yeasts and beneficial bacteria from your environment, making each starter unique to your home. In this guide, I’ll walk you through creating a vibrant, active sourdough starter that will become the foundation for countless loaves of tangy, chewy sourdough bread with those coveted open crumb structures and crackling crusts.
Before we dive in, let’s understand what makes sourdough special. Unlike commercial yeast breads, sourdough relies on a symbiotic culture of wild yeasts and lactic acid bacteria. These microorganisms not only leaven your bread but also break down the flour, making nutrients more bioavailable and creating that distinctive tangy flavor. Many people who struggle with commercial bread find sourdough more digestible—just one of its many benefits.
Homemade Sourdough Starter
Prep Time: 10 minutes daily
Total Time: 7-10 days
Yield: 1 active sourdough starter
Ingredients:
- 2 cups (250g) whole wheat flour (for initial feeding)
- 2 cups (250g) unbleached all-purpose flour (for subsequent feedings)
- Filtered water at room temperature
- 1 glass jar or container (at least 1-quart capacity)
Equipment needed: Digital kitchen scale (highly recommended for accuracy), glass jar with loose-fitting lid or cloth cover, rubber band or masking tape (to mark growth levels), wooden spoon or spatula for mixing.
Instructions:
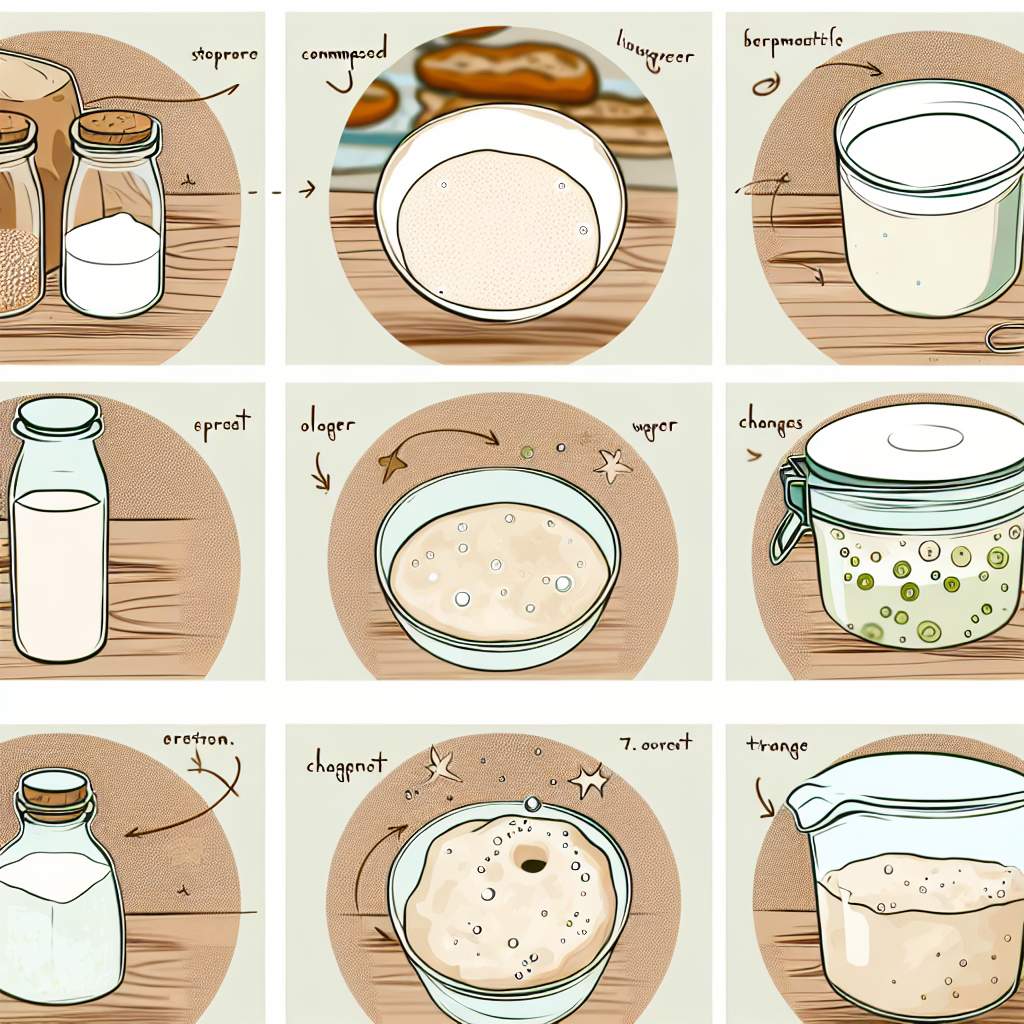
Day 1: Initial Mix
Combine 50g (about 1/3 cup) whole wheat flour with 50g (about 1/4 cup) room temperature filtered water in your clean jar. Whole wheat flour works best for the initial feeding as it contains more microorganisms to kickstart fermentation. Mix thoroughly until no dry flour remains. The consistency should be like thick pancake batter. Cover loosely with a cloth or lid set on top but not sealed tight. Mark the level with a rubber band and place in a warm spot in your kitchen (75-80°F is ideal). Let sit for 24 hours.
Day 2: First Feeding
Check your starter – there may not be much activity yet, and that’s normal. Discard all but 50g of your starter (about 2 tablespoons). Add 50g whole wheat flour and 50g water to the remaining starter. Mix thoroughly, cover, mark the level, and let sit for another 24 hours.
Days 3-7: Establishing a Feeding Schedule
From now on, feed your starter twice daily, approximately 12 hours apart. Each time, discard all but 50g of starter, then add 50g all-purpose flour and 50g water. Mix well, cover, and mark the level. By day 4 or 5, you should begin to see bubbles forming and the starter rising predictably after feeding. It may smell slightly sour or like yogurt – this is good! If you notice a strong alcohol or acetone smell, your starter is hungry and needs to be fed more frequently.
Testing for Readiness
After about 7 days, your starter should be doubling in volume within 4-6 hours after feeding. To test if it’s ready, drop a small spoonful into a glass of water – if it floats, it’s active enough to bake with! Another test: your starter should have a pleasant, yeasty smell with a slight tang, and visible bubbles throughout.
Maintaining Your Starter
Once established, you can keep your starter at room temperature if you bake frequently (feeding daily) or store it in the refrigerator (feeding weekly). To refrigerate, feed your starter, let it rise for 1-2 hours, then seal and refrigerate. When ready to use again, remove from refrigerator, discard half, feed, and let sit at room temperature until active (usually 1-2 feedings).
The discard doesn’t have to go to waste! Even before your starter is fully active, you can use the discard in pancakes, waffles, crackers, or flatbreads. These recipes don’t rely on the starter for leavening but benefit from the flavor complexity.
Troubleshooting is part of the sourdough journey. If your starter seems sluggish after several days, try using slightly warmer water (80-85°F) or finding a warmer spot in your kitchen. A heating pad on low or on top of the refrigerator can work well. If you see a layer of liquid forming on top (called “hooch”), simply stir it back in—it’s a sign your starter is hungry and needs to be fed.
The environment in your home plays a significant role in your starter’s development. Sourdough starters thrive in warm, slightly humid conditions. In colder months, you might need to find creative ways to keep your starter warm—wrapping the jar in a kitchen towel or placing it in the oven with just the light on can work wonders. Patience is key; in cooler conditions, your starter might take a few extra days to become fully active.
Many bakers name their sourdough starters once established. It might sound quirky, but there’s something special about maintaining a living culture that becomes part of your kitchen routine. Whether you call yours “Doughy,” “Bread Pitt,” or “Jane Dough,” this starter is the beginning of countless baking adventures. With proper care, your sourdough starter can last indefinitely—some bakeries boast starters that are over a century old, passed down through generations.
Remember that sourdough baking is as much art as science. Each starter develops its own unique profile based on your local microbiome, the flours you use, and your feeding schedule. Embrace the learning process, take notes on how your starter behaves, and adjust as needed. Before you know it, you’ll be pulling gorgeous, crusty loaves from your oven that rival any artisanal bakery’s offerings—all starting with this humble mixture of flour and water that you’ve lovingly nurtured into life.